
Production downtime on an injection blow molding line costs not just machine time — it costs packaging supply continuity, customer confidence, and operator morale. Yet the majority of IBM machine faults are predictable, diagnosable, and fixable with structured troubleshooting. This guide documents the eight most common faults encountered across IBM production lines, explains each root cause in technical depth, and provides step-by-step corrective action.
Understanding fault patterns also informs preventive maintenance scheduling, which is covered in the final section. Operators who can anticipate failure modes prevent them — operators who can only react to them are always behind.
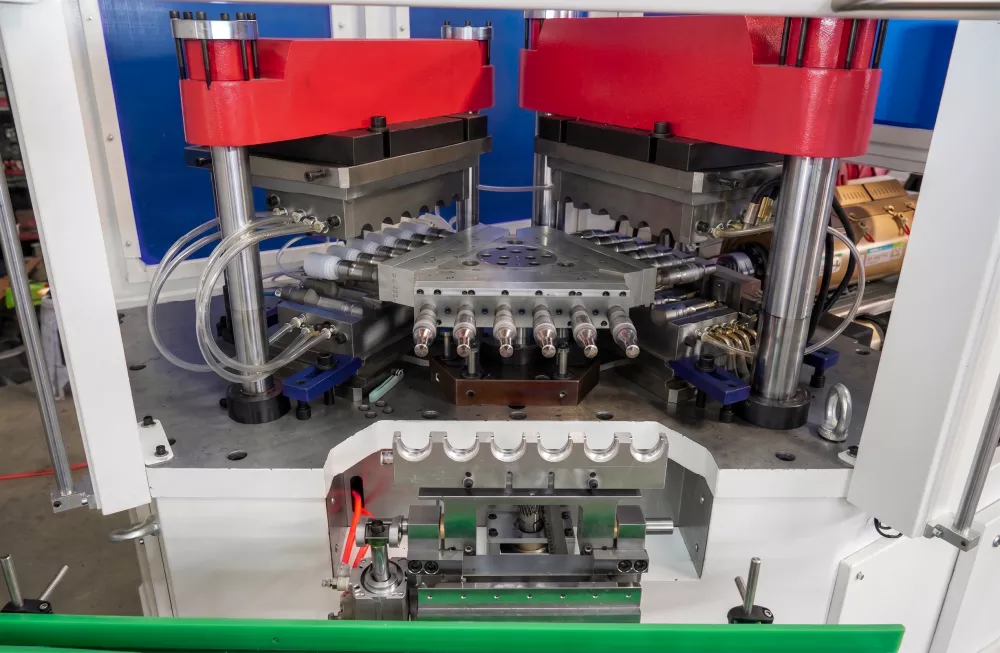
Fig 1 — IBM machine in production: systematic fault diagnosis reduces downtime and scrap
1. Why Fault Diagnosis Skills Are Essential
IBM machines operate all stations simultaneously in a tightly coupled cycle. A defect appearing at the ejection station may originate at the injection station two index steps earlier. This time-lag between cause and visible effect is what makes IBM troubleshooting counter-intuitive for operators used to linear production equipment. Building a fault-cause-correction mental model is therefore the most valuable skill an IBM technician can develop.
Always observe the machine for at least 5 complete cycles before making any parameter change — and change only one parameter at a time. Multiple simultaneous adjustments make root-cause isolation impossible. Browse our IBM machine range to see how current machine designs incorporate built-in diagnostics.
2. Fault 1: Uneven Wall Thickness
Primary causes:
- Core rod runout exceeding 0.05 mm — causes eccentric preform wall
- Asymmetric mold cooling — one side solidifies faster, pulling material
- Non-uniform preform temperature at the blow station
- Worn core rod surface causing localised drag and wall thinning
Corrective action: Check core rod runout with a dial gauge; re-align or replace if above tolerance. Balance cooling water flow across all mold circuits using individual flow meters. If temperature asymmetry is confirmed with a thermal camera, adjust conditioning station heater zones individually.
3. Fault 2: Flash or Burrs on Product Surface
Primary causes:
- Clamping force below specification — mold lifts under injection pressure
- Worn or damaged mold parting surface — gap allows melt escape
- Machine not level — uneven clamping across platens
- Injection pressure too high for shot weight
Corrective action: Verify clamping force using hydraulic pressure gauge against machine data sheet. Inspect parting faces under a straight-edge; stone out minor high spots. Re-level the machine to within 0.5 mm/m. Reduce injection hold pressure by 10% and observe whether flash reduces before investigating clamping force.
4. Fault 3: Short Shot / Incomplete Preform
Primary causes:
- Melt temperature too low — resin viscosity too high to fill cavity
- Insufficient shot size — screw metering distance set too short
- Blocked hot runner gate or cold slug in nozzle
- Injection speed too low for thin-wall preform geometry
Corrective action: Raise barrel zone temperature in 5 °C increments up to the material recommended upper limit. Increase shot size by 5% and observe. If a cold slug is suspected, increase nozzle heater temperature by 10 °C and add a 2-second delay at suck-back. Check hot runner continuity with a thermal camera.
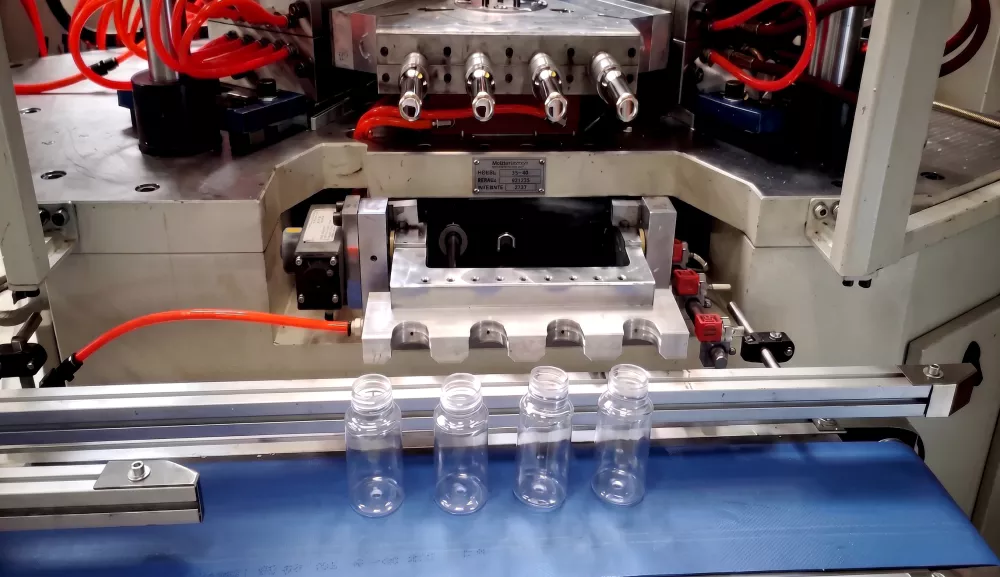
Fig 2 — IBM production case: structured fault diagnosis identified cooling imbalance as root cause of wall variation
5. Fault 4: Surface Defects (Sink Marks, Flow Lines, Bubbles)
| Defect | Likely Cause | Fix |
|---|---|---|
| Sink marks (depressions) | Insufficient hold pressure or cooling | Increase holding pressure; extend mold cooling time |
| Flow lines (weld marks) | Low melt temp, slow injection | Increase melt temp 5–10 °C; increase injection speed |
| Silver streaks (splay) | Moisture in resin | Extend drying time; verify dryer dew point below -30 °C |
| Black specks | Degraded material in hot runner | Purge barrel; clean hot runner manifold |
| Surface haze | Mold temperature too low | Raise mold temperature 5 °C; check chiller setpoint |
6. Fault 5: Machine Fails to Complete Blow Cycle
Primary causes:
- Blow air pressure below minimum threshold — pressure switch trips alarm
- Blow nozzle seat leaking — air bypasses preform, bottle does not inflate
- Blow valve solenoid failed — no air delivery command
- Preform temperature too low — material cannot inflate, causing excessive blow pressure demand
Corrective action: Check supply air pressure at the blow circuit manifold while in manual blow mode. Inspect nozzle seat for wear and replace if sealing face is damaged. Test solenoid valve actuation with a multimeter on the coil and voltage signal line. Raise preform temperature by 5 °C if the barrel and conditioning station checks are normal.
7. Fault 6: Mold Not Closing Properly
Incomplete mold closure triggers the machine safety interlock and prevents injection from occurring. The HMI typically shows a “mold protection” or “clamping error” alarm.
Diagnostic sequence:
- Switch to manual mode and observe mold closing slowly — watch for hesitation.
- Inspect parting faces for contamination, plastic flash built up in corners, or a previous cycle bottle fragment.
- Check low-pressure mold protection time setting — if too short, the machine alarms before the mold reaches full close position.
- Verify hydraulic pressure at the clamping cylinder — low pressure means oil leak or pump wear.
- Check tie rod nuts for looseness — a loose tie rod changes platen parallelism and prevents even closing.
8. Fault 7: Hydraulic System Pressure Loss
Common causes and checks:
- Internal seal wear — cylinders leak past piston seals; check cylinder rod for oil seepage.
- Hydraulic pump wear — volumetric efficiency drops; measure pump output flow rate against specification.
- Relief valve mis-set or worn — pressure dumps across relief rather than to cylinders; test by blocking outlet briefly.
- Oil contamination — water ingress or metal particles degrade pump and valve performance; sample oil for analysis.
Corrective action: Replace cylinder seals or pump depending on diagnosis. Change hydraulic oil if contaminated. Clean the oil cooler if oil temperature is high. Do not exceed machine pressure limits by increasing relief valve setting — this masks the root cause and accelerates wear.
9. Fault 8: Temperature Control Instability
Barrel zone temperatures that oscillate more than ±5 °C around setpoint produce inconsistent melt viscosity and cycle-to-cycle weight variation. This is one of the most common causes of gradually increasing scrap rate on ageing machines.
| Component | Failure Mode | Test Method | Replacement Interval |
|---|---|---|---|
| Thermocouple | Drift, open circuit | Resistance check, compare to calibrated reference | 2 years or on alarm |
| Heater band | Open circuit, partial failure | Current clamp on each heater leg | 3–5 years |
| PID controller module | Output saturation, hunt | Swap with a known-good module | On fault |
| SSR (solid state relay) | Stuck ON or OFF | Voltage check at output terminals | On fault |
10. Preventive Maintenance Schedule to Reduce Faults
Daily
- Check oil level and temperature
- Verify cooling water flow
- Inspect mold parting faces
- Record cycle time and shot weight
Weekly
- Lubricate tie rod threads
- Clean air filter elements
- Check hydraulic hoses for chafe
- Calibrate thermocouple reference
Monthly
- Oil analysis sample
- Inspect core rod surface condition
- Check tie rod nut torque
- Verify safety interlock function
Annual
- Full hydraulic oil change
- Replace all barrel thermocouples
- Overhaul hydraulic pump
- Recalibrate injection unit
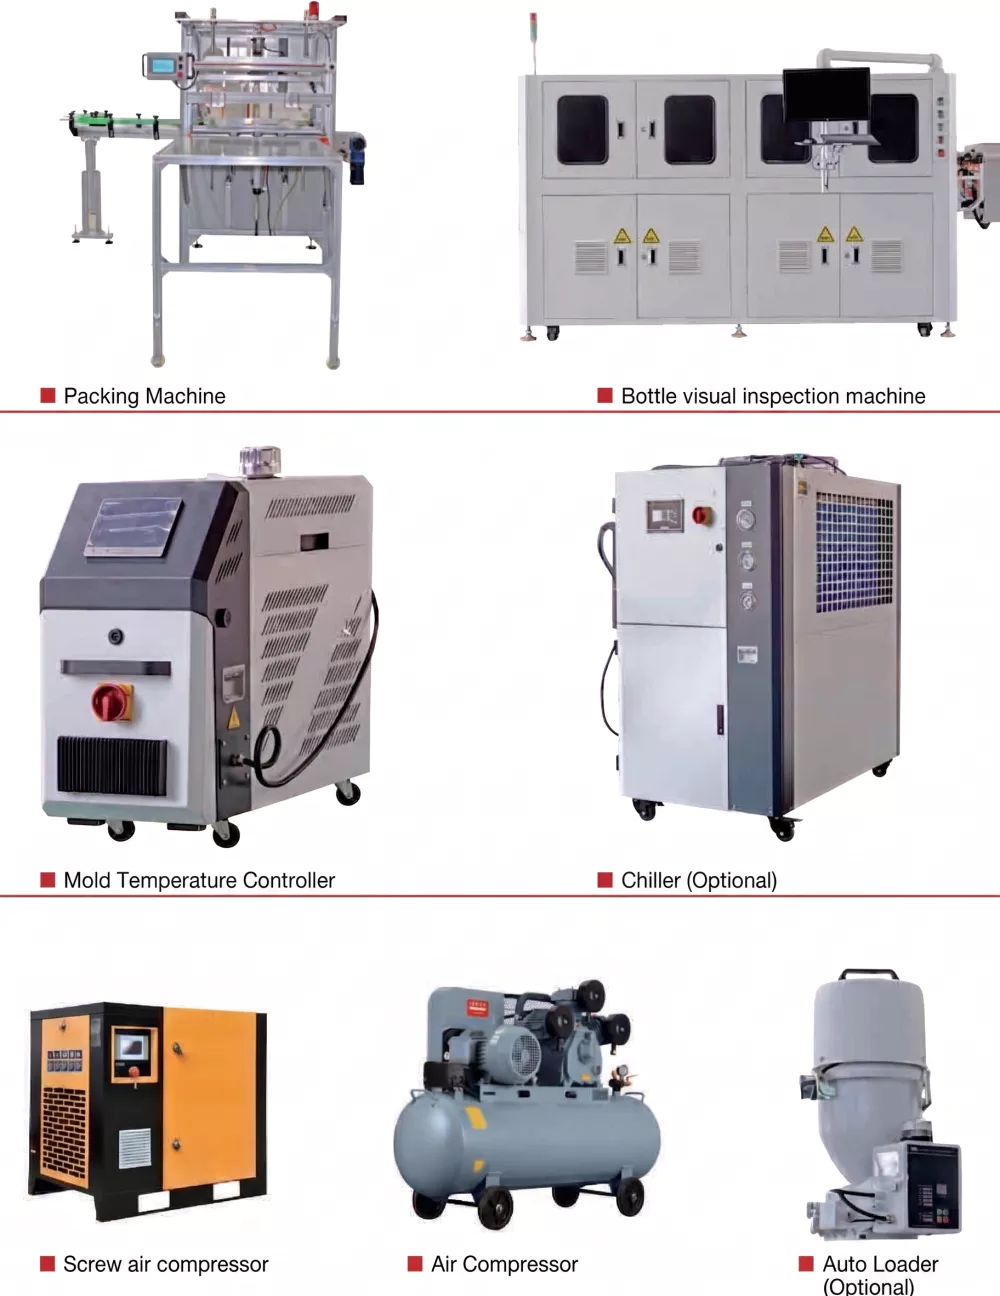
Fig 3 — Auxiliary equipment maintenance is as important as machine maintenance for fault-free IBM production
11. Frequently Asked Questions
What causes uneven wall thickness in IBM bottles?
Uneven wall thickness is most often caused by core rod misalignment, asymmetric mold cooling, or inconsistent preform temperature distribution. Check core rod runout first with a dial gauge.
Why does my IBM machine produce bottles with surface bubbles?
Bubbles in the bottle wall indicate moisture in the resin. Verify material drying conditions — particularly drying time, temperature, and dryer dew point — before re-running.
What causes flash on IBM bottles?
Flash at the parting line results from insufficient clamping force, worn mold parting surfaces, or machine levelling error. Check clamping pressure, inspect mold parting faces, and re-level the machine.
How often should IBM machine hydraulic oil be changed?
Hydraulic oil should be tested every 6 months and changed every 2,000–3,000 operating hours or annually, whichever comes first.
What causes temperature control instability on an IBM machine?
Unstable barrel zone temperatures are usually caused by faulty thermocouples, failed heater bands, or a PID controller fault. Replace thermocouples first as they are the most common failure point.
Why does the blow mold fail to close fully?
Incomplete mold closure can result from a warped platen, foreign material on parting faces, incorrect low-pressure mold protection setting, or hydraulic pressure below spec. Inspect and clean parting faces first, then check hydraulic pressure.
How can I reduce scrap rate on my IBM line?
Focus on the top three drivers: material drying, mold maintenance (wear-related flash), and process parameter stability. A structured SPC programme will reveal the dominant source for your specific product.
12. Conclusion
IBM machine faults almost always have identifiable root causes. The technicians who minimise downtime are those who follow a structured diagnostic sequence — one change at a time, always tracing defects back to their origin station rather than their display station. Combine fault-response skills with a rigorous preventive maintenance schedule, and the majority of unplanned stops will disappear from your production log.
For machine-specific troubleshooting support or spare parts enquiries, contact our technical service team. View our IBM machine range for models with integrated diagnostic HMI systems.