How to Set Up and Operate an ISBM Machine for the First Time?
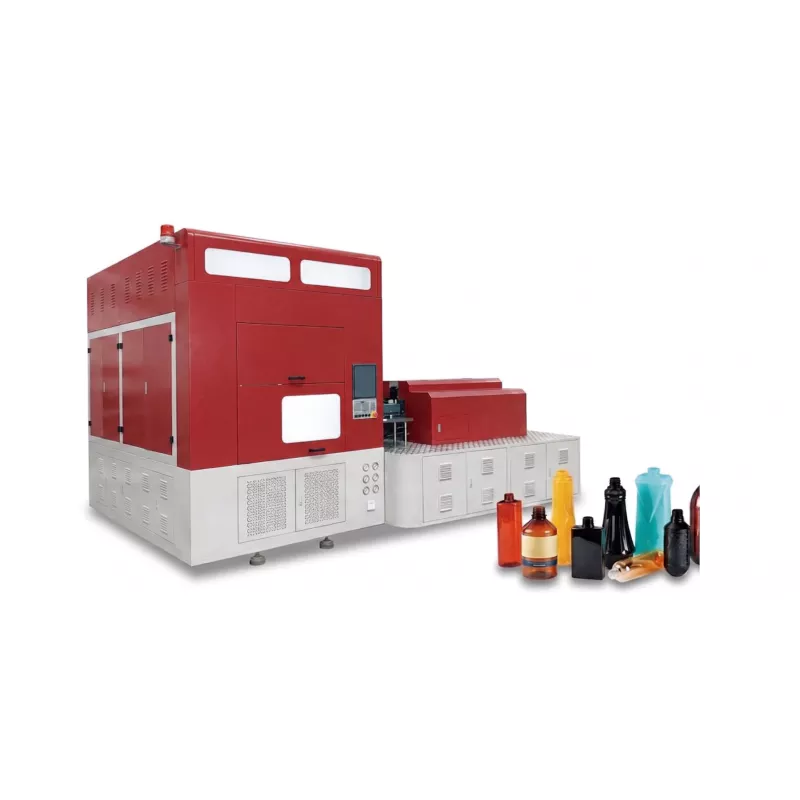
Commissioning a new injection stretch blow molding machine is a high-stakes milestone in any packaging plant. Getting the setup right from the outset prevents weeks of costly troubleshooting, tooling damage, and production downtime. This guide is structured as an operational checklist for engineers or technicians who are starting up a one-step ISBM machine — either a new installation or a machine newly transferred to a different production facility — for the first time.
The procedures covered here apply to all rotary 4-station one-step ISBM machines processing PET or PP. Specific parameter values will vary by machine model; always refer to the machine manufacturer’s commissioning manual for model-specific limits, and ensure qualified personnel are present throughout startup.
Phase 1 — Pre-Installation Checklist
Before the machine arrives at site, confirm that all utility infrastructure is in place and sized correctly. Inadequate utilities are the most common cause of delayed commissioning and poor first-run results.
| Utility | Requirement | Ескертпелер |
|---|---|---|
| Electrical supply | 3-phase, per machine nameplate (typically 380V/415V, 50/60Hz) | Earth leakage circuit breaker required; verify local voltage against machine spec |
| Compressed air — low pressure | 6–10 bar, oil-free, dry (dew point < 5°C) | For machine pneumatics and pre-blow; use refrigerated dryer minimum |
| Compressed air — high pressure | 25–40 bar, oil-free (Class 1 per ISO 8573) | Booster compressor required; size capacity to peak blow demand |
| Chilled water — mold cooling | 5–15°C supply, 3–5 bar, flow rate per machine spec | Separate chiller unit recommended; ensure sufficient heat rejection capacity |
| Floor loading | Typically 3,000–8,000 kg total installed weight; verify floor rating | Machine base must be level to within 0.2mm/m; use anti-vibration mounts |
| Ventilation | Adequate air exchange around machine (acetaldehyde, volatile off-gases from PET) | Roof extraction recommended; check local occupational exposure limits |
Phase 2 — Material Preparation
Never load undried material. This is the single most common cause of defective first-run parts and subsequent fingerpointing between machine supplier and material supplier when the real issue is operator error in drying preparation.
- 160–180°C, 4–6 hours minimum
- Dehumidifying dryer, dew point −40°C
- Target: <50 ppm moisture
- Verify with Karl Fischer titration instrument
- 80–90°C, 2–3 hours
- Standard desiccant or recirculating hopper dryer
- Less critical than PET but recommended for consistency
- Beware of PP pellet segregation in multi-layer hoppers
- 65°C, 2–4 hours
- Lower temperature critical — avoid crystallisation of PETG
- Do NOT use temperatures above 70°C for PETG
Phase 3 — Tooling Installation
Tooling installation sequence must follow the manufacturer’s prescribed order. Work in a clean, well-lit environment. Protect mold surfaces from contamination and mechanical impact at all stages.
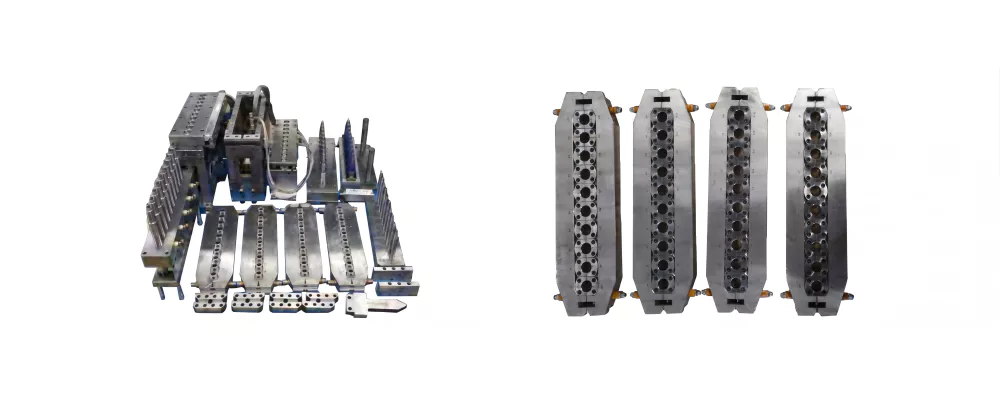
- Clean mold cavity and core with approved cleaner; inspect for corrosion
- Mount injection mold to machine platen; torque bolts to specification
- Connect hot runner heater connectors — verify zone identification matches wiring diagram
- Connect hot runner thermocouple wiring; check continuity
- Connect cooling water hoses; check flow rate and absence of leaks at all connections
- Perform hot runner heat-up test: bring zones to setpoint and verify each TC reading within ±3°C of setpoint
- Inspect gate tips for drool or blockage before first shot
- Inspect blow mold cavity for surface quality and parting line condition
- Mount blow mold halves, ensuring correct orientation (vent marks visible)
- Check stretch rod alignment: rod tip must be centered to gate point within 0.3mm
- Connect blow mold cooling water; verify flow rate
- Test blow mold open/close operation manually before pressurized test
- Verify exhaust valve operation — must open fully within specification time
Phase 4 — Machine Parameter Setup
Start with conservative (mid-range) parameters derived from the material data sheet and machine manual. Do not attempt to run at production speed or full pressure on the first trial. Build up incrementally.
| Parameter Group | Starting Value (PET) | Adjustment Direction |
|---|---|---|
| Barrel Zone 1 (rear) | 240°C | Increase if preform shows unmelted particles |
| Barrel Zone 4 (front/nozzle) | 275°C | Reduce if preform shows yellowing or black specks |
| Conditioning zone temperature | 90°C (body) / 60°C (neck) | Increase if preform tears at stretch; reduce if pearlescence appears |
| Pre-blow pressure | 5 bar | Increase if rod tip puncture occurs |
| Main blow pressure | 20 bar | Increase until full panel definition achieved; do not exceed 40 bar |
| Stretch rod speed | Medium (50% of maximum) | Increase slowly; gate marks indicate rod-to-blow pressure timing error |
| Cycle time | 20 seconds (extended for first run) | Reduce once process is stable and parts pass visual inspection |
Phase 5 — First Article Trial and Inspection
After the first 5–10 cycles, stop and inspect parts thoroughly before continuing. Check each of the following before proceeding to sustained production:
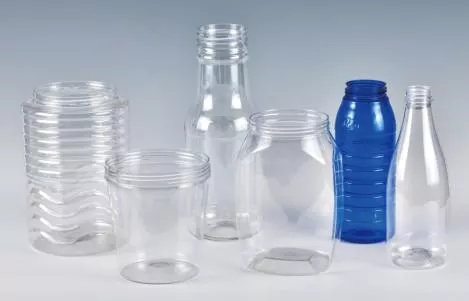
- Gate area: no gate blush, stringing, or black specks
- Body: no flow marks, pearlescence, or uneven stretch
- Surface: no pitting, cold marks, mold release residue
- Parting line: flash must be absent or within spec
- Neck: no distortion, thread damage, or flash
- Overall height vs drawing tolerance
- Neck outer diameter and thread major/minor diameters
- Capacity (gravimetric: fill with water, weigh)
- Wall thickness at 5 points: gate, base, shoulder, sidewall mid, sidewall top
- Weight: total bottle weight vs target
- Top load: minimum crush force per spec
- Drop test (filled, 1.2m): no fracture or leakage
- Closure application: cap torque within spec
- Leak test: pressurize bottle, submerge in water
Phase 6 — Common First-Run Problems and Quick Fixes
| Symptom | Most Likely Cause | Quick Fix |
|---|---|---|
| Preform tears during stretch | Preform body too cold; conditioning temp too low | Increase conditioning zone temperature 5°C at a time |
| Bottle hazy / pearlescent | Preform body too hot; uncontrolled cold crystallinity | Reduce conditioning temperature; check cycle time |
| Incomplete panel fill | Main blow pressure too low; blow time too short | Increase main blow pressure in 2-bar increments |
| Gate puncture / hole at base | Rod speed too high relative to pre-blow; pre-blow delay too long | Reduce rod speed; advance pre-blow timing relative to rod |
| Uneven wall — thick base, thin sidewall | Preform too cold in lower body zone; rod stroke insufficient | Increase lower conditioning zone temperature; check rod stroke setting |
| Black specks in preform or bottle | Degraded material in barrel dead zones or hot runner stagnation | Purge barrel with fresh material; reduce hot runner temperature; check residence time |
Operator Safety Protocols
- Never open safety guards while machine is in automatic cycle — immediate E-stop first
- Allow all barrel and hot runner zones to cool below 60°C before maintenance contact
- High-pressure air (30+ bar) — never direct blow nozzle toward personnel; always vent mold before mold opening when troubleshooting
- PET acetaldehyde vapors: ensure ventilation is active; do not lean over open barrel
- Chilled water leaks: condensation on cold tooling is normal; actual leaks from fittings require immediate shutdown
For detailed guidance on selecting the right ISBM machine for your application before you reach the setup stage, visit our ISBM machine product range. If you need application-specific commissioning support, our after-sales team can provide remote or on-site technical assistance — contact us to arrange commissioning support.
Frequently Asked Questions
How long does initial commissioning of an ISBM machine typically take?
Should I use new or recycled PET resin for the first trial runs?
What documentation should I create during commissioning?
Need Commissioning Support for Your ISBM Machine?
Our technical team provides remote parameter guidance, startup troubleshooting, and on-site support for all machine models we supply.