
Hoe reinig en ontlucht u een ISBM-machine bij het wisselen van materialen?
Material changeovers on an ISBM machine carry a risk that is easy to underestimate: residual polymer from the previous material in the barrel, screw, check valve, hot runner manifold, and nozzle channels can contaminate the incoming material for dozens of shots if the purge sequence is not done correctly. The consequences range from minor (colour tinting in the first batch of the new material) to serious (black specks from thermally degraded residue, reduced preform IV from incompatible polymer mixing, or product quality failures in pharmaceutical applications).
This guide provides a systematic procedure for material changeover on one-step ISBM machines, covering PET-to-PP, PP-to-PET, PET-to-PETG, colour changes within the same material, and long production shutdown purge procedures. The correct sequence depends on both the outgoing and incoming material — there is no single universal purge procedure that applies to all combinations.
Why Material Changeover Requires a Planned Procedure
Unlike extrusion or blown film processes where the material flows continuously and can self-purge relatively quickly, ISBM has several areas where residual material can accumulate and require active purging:
- Barrel dead zones: Areas near the barrel wall, behind the check valve, and in the screw flights where melt velocity is low and material can accumulate and degrade over time
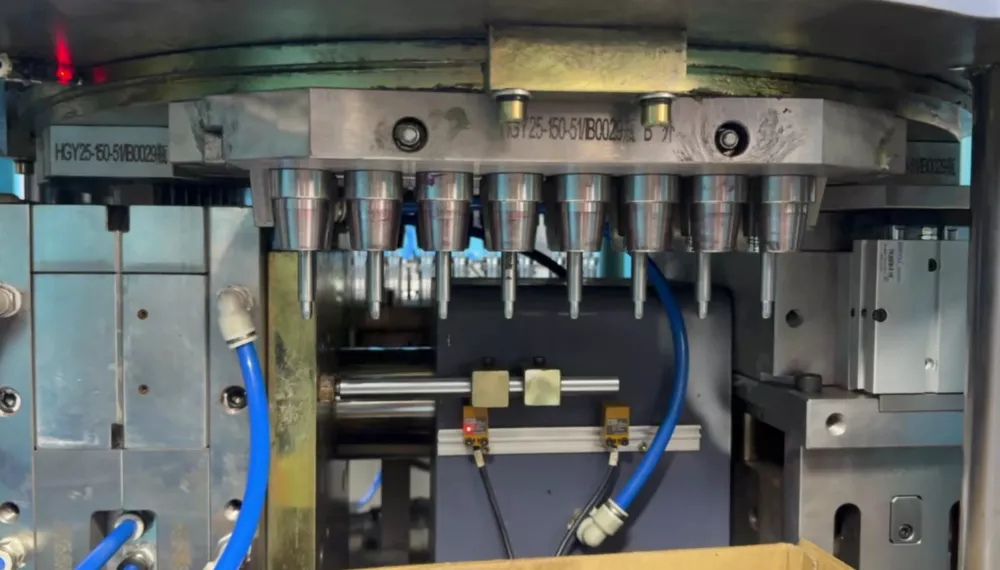
- Hot runner manifold: The distribution block maintains material in a molten state between shots — all material in the runner channels must be displaced by the incoming material
- Nozzle channels: Each hot runner nozzle retains a small volume of melt; with multiple nozzles, the total retained volume can be 20–50% of one shot weight
- Check valve assembly: The screw check valve is a low-velocity zone where degraded material can accumulate over long production runs
General Purge Principles
Always set barrel and hot runner temperatures to the incoming material’s processing range BEFORE beginning the purge. Never purge the incoming material through temperatures optimised for the outgoing material — incompatible temperature settings degrade both materials and create more contamination.
Purge by counting shots, not by time. For a standard 1-cavity ISBM machine, a minimum of 10–20 purge shots is needed after the incoming material first appears in the gate; the exact number depends on barrel and hot runner volume relative to shot weight.
Always confirm purge completeness visually — hold a preform to light and look for any colour tinting, streaks, or specks from the previous material. Do not declare changeover complete based on shot count alone; visual inspection of the last 3 purge preforms is mandatory.
For changeovers between incompatible polymers (PET to PP, PP to PET, any to coloured), a commercial purging compound provides faster and more complete material displacement than the incoming resin alone. Recommended compounds: Asaclean, Purgex, or equivalent ISBM-compatible grade.
Changeover Procedures by Material Combination
| Changeover | Temperature Sequence | Purge Material | Minimum Purge Shots |
|---|---|---|---|
| PET → PP | Reduce barrel to PP range (230–260°C); reduce hot runner to PP range (230–250°C) before starting purge | Purging compound first (10 shots), then PP resin (10+ shots) | 20+ shots total; visual clear before production |
| PP → PET | Raise barrel to PET range (255–280°C); raise hot runner to PET range (270–285°C) before purge | Purging compound first (10 shots), then PET resin (15+ shots) | 25+ shots total; visual clear before production |
| PET → PETG | Reduce barrel slightly (PETG 245–270°C vs PET 255–280°C); hot runner similar range | PETG resin direct (compatible); no compound needed | 10–15 shots; visual clear |
| Colour change (same material) | No temperature change required | Natural (uncoloured) resin first (10 shots), then new colour | 15–20 shots; visual match to target colour before production |
| Shutdown purge (any material) | At production temperature; purge before cooling down | Purging compound (10 shots) to displace production resin before shutdown | 10 shots minimum; leave purging compound in barrel for shutdown |
Long-Shutdown Procedure (Weekend / Extended Downtime)
For shutdowns longer than one shift (weekend, holiday, maintenance stop), additional steps beyond a standard material changeover are required to prevent resin degradation in the barrel and hot runner during the downtime period:
- At end of last production run, purge barrel with purging compound (10 shots) to displace production resin — do not leave PET or PP in the barrel at processing temperature during shutdown
- Reduce barrel temperatures to standby temperature (PET: 200°C; PP: 180°C) — low enough to prevent resin degradation but high enough for quick restart purge
- Reduce hot runner to standby temperature (same as barrel standby)
- On restart, bring barrel and hot runner to production temperature; allow 30 minutes for full thermal soak; then purge 5–10 shots before beginning production. Inspect first 10 production preforms carefully before releasing to blow station
- For extended shutdowns (>72 hours), reduce temperatures to ambient or switch off entirely after thorough purging — restarting from cold requires a full thermal soak cycle (typically 45–60 minutes)
For machine-specific purge procedures and recommended purging compound grades for your ISBM machine model, contact our technical support team. We can provide a written material changeover SOP tailored to your specific machine and material combination.
Veelgestelde vragen
Can I purge PET out with PP resin directly without a purging compound?
How do I know the purge is complete for a pharmaceutical production changeover?
What should I do if I see black specks during purging?
Need a Material Changeover SOP for Your ISBM Machine?
We can provide a machine-specific changeover procedure document for your material combination — including purge temperature profiles, shot counts, and confirmation criteria.